
| April 23, 2008—Photos by hook or by crook | ||
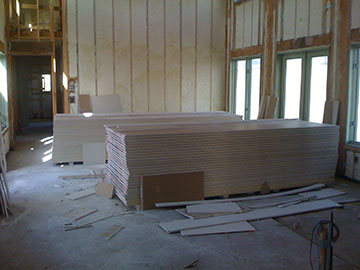 |
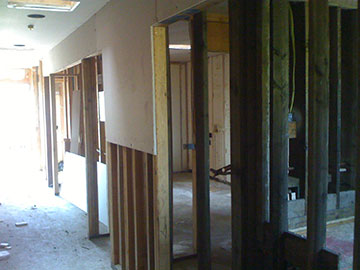
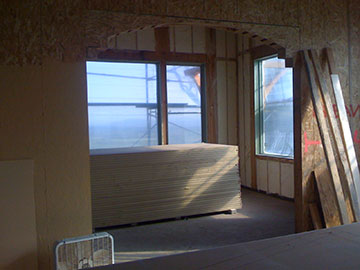
I arrived at the site this morning for the first time in a week and realized I had left my camera at home. I was really upset—especially since the weather was dramatically changeable, first foggy, then pouring rain, then windy and sunny. Plus, drywall was being installed and the plasterers were finishing up the lath in preparation for stucco. I went all day without photos—although Kai offered to lend me his camera. Then, just as I was leaving, I realized that, duh, my cell phone has a camera. It’s not the greatest of a cameras but at least I had a record! Here is the family room full of drywall waiting to be installed. |
|
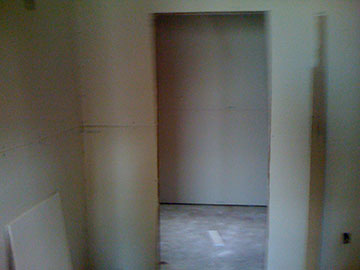 |
Here is my dressing room with closet behind, all enclosed now. As you can see, it is hard to get a coherent photo in the enclosed rooms. I may have to invest in a new camera. | |
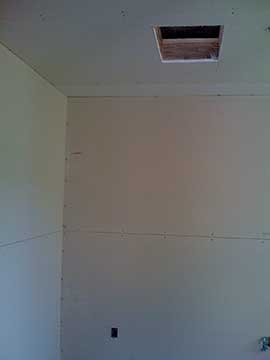 |
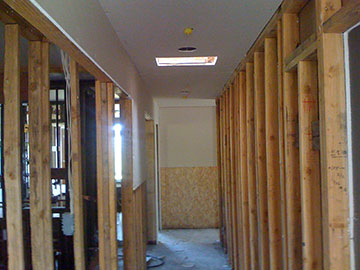
This is Jim’s dressing room. The hole in the ceiling is a skylight. | |
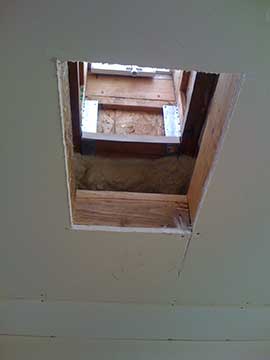 |
Here is a better view of the skylight. The whole shaft between the ceiling and skylight will get boxed in. These skylights, like those in the barn, let in light but very little heat. Although the sun will be beating down on this roof, the skylights won’t make the rooms hot. The way it works is that the skylight is made from three layers of special translucent plastic with gas in between the layers, like a regular window. The combination of the layers of plastic and insulating gas in between reflects most of the heat. And, these skylights are quite inexpensive, to boot! |
|
 |
Here is the back hallway from the corner by the master bathroom looking towards the back door. They have made a start on the drywall in the hall, starting with the ceiling and part of the walls. | |
 |
From the back door, looking toward the master bath, here is a better view of the finished drywall on the ceiling. | |
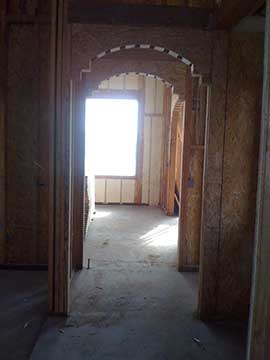 |
Although they haven’t started working in this section of the house yet, I really liked this picture from the kitchen looking through the two arches into the dining room. The stripes at the top of the arches are the spacers set to keep the two pieces of OSB separated and support the eventual drywall covering over the thickness of the arch. I really like the stripe-y look and may paint a striped band around the arches when they are done. I have seen this done in photos of other houses and it looks very elegant. This style of painting probably started out as a faux version of a stone block arch, but it is quite handsome in its own right. I will until the main painting is done and see how it looks first before I decide for sure whether or not I will do this. |
|
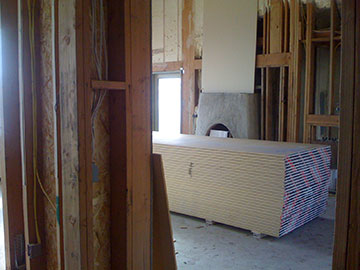 |
A stack of drywall sits in front of the fireplace in the living room. Just remember, all this wallboard had to be carried into the house by hand. I am told that each of those pieces weighs close to 100 lbs., so what you see here is the result of a lot of heavy lifting. (I’m glad I was on vacation!) | |
 |
There is another stack in the dining room. Just imagine it as our dining room table covered with a white cloth. | |
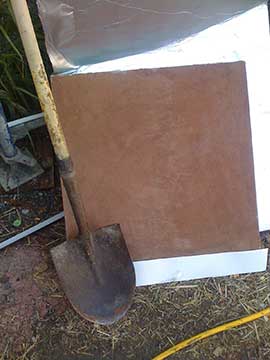 |
The exterior stucco color sample got saturated in the rain and looks a lot better wet. | |
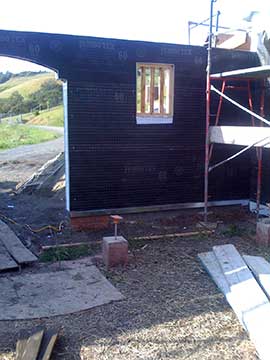 |
They have finished enclosing the inside of the courtyard wall and papering it it. This included an elaborate sealing of the lower part of the wall, which of course I did not photograph because I hadn’t remembered my cell phone camera at that point. We also got our window grille installed. |
|
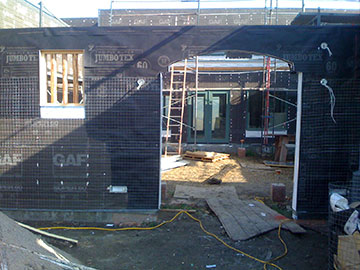 |
Here is the grille and gate opening from the outside. Kai and the stucco contractor spent quite a long time figuring out how exactly the gate would get hung in the aperture. Getting the wood gateposts to work next to the stucco wall without creating the danger of water intrusion was a major issue. I wasn’t there for the discussion because I was busy working with the painting contractor on the interior color, but I am sure the two of them came up with a good solution to the problem.
|
|
| Check out the progress in the garden, click here | ||
| Back to top | ||