
| August 8, 2008—More finishing touches on auspicious 8-8-08 | ||
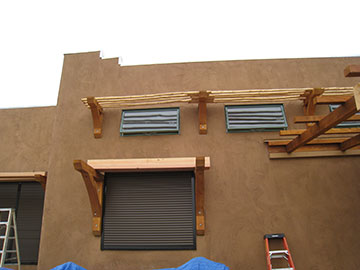 |
Kai had been working on the brackets over the windows with the electric shutters. They are designed to disguise the casing for the shutter as well as give shade to the windows. | |
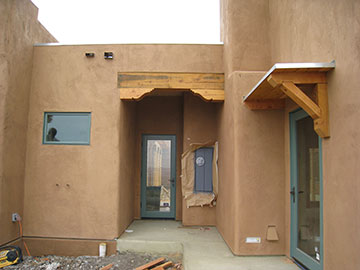 |
As noted on Wednesday, he had installed the corbels on the little beam in the west side of the foyer. I had a picture from the inside looking out, but here is one from the outside. | |
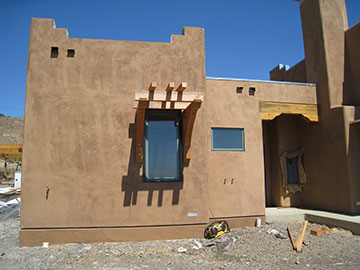 |
Here is the shade over the guest bedroom window. Only the window on the west side gets a shade, since the other window faces north and doesn’t ever get direct sun. The finished shade will have the 4 x 4’s perpendicular to the house evenly distributed with lengths of latilla set parallel to the house across them. To see what it will look like, you can look at the master bath shade photo on Wednesday’s page. It’s almost to the bottom of page 1. |
|
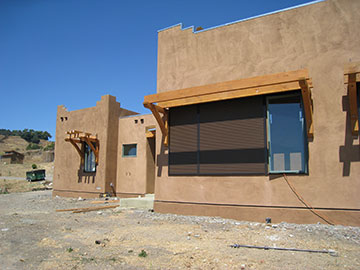 |
The living room shade is so long that there are no latillas long enough to span the whole length, so they will weave into each other like they do on the clerestory brackets. | |
 |
I liked this picture of the living room because it shows the dining room cabinets so well. The colors look really mellow in this shot too. | |
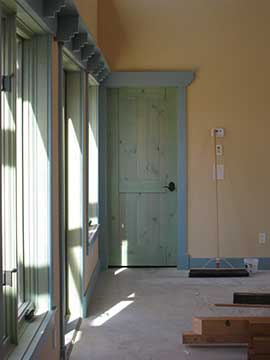 |
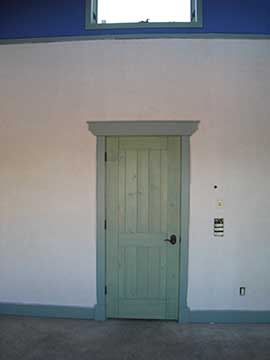
Here is the door from the family room into the master suite. Kai has been installing the interior door knobs. He is having us keep all the doors closed. Some of the doors are moving around a little and he may need to adjust the knobs so they work properly. Keeping them closed helps them settle into place. Also, there are no door stops on the doors yet and we don’t want any of the knobs to bang into and damage the walls. |
|
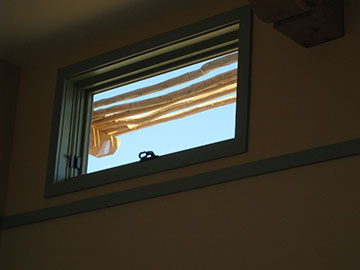 |
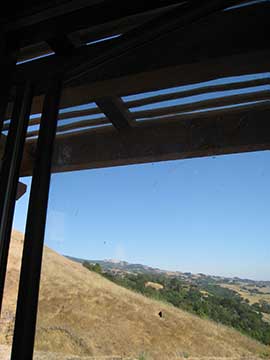
I finally got a decent shot of the clerestory shades from the inside. I realized that if I shot (duh!) away from the direction of the sun, I could get a good picture. | |
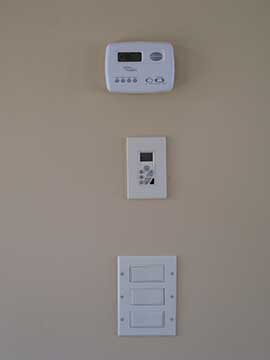 |
These controls in the family room are the thermostat for this zone, the stereo controls for this room and the lighting for this end of the room, respectively. | |
 |
The master bedroom paint is complete and waiting for me to do the stenciling. I am having a hard time finding time to cut the stencil but will try to do it this coming weekend. | |
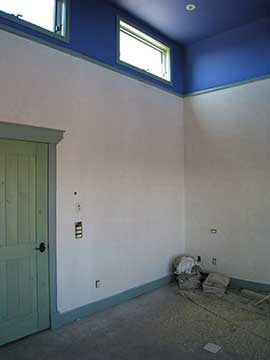 |
The colors don’t come out at all the same in a photo as they are in real life and each monitor interprets them in its own way. The ceiling is a dark periwinkle blue and the walls are glowing white. They look more creamy than in the photo, but I may put another layer of glaze on them once the stencil is complete. | |
 |
Here is the master bathroom shade from the inside. I need to see it in the early morning to make sure it doesn’t block the rising sun. | |
| For more finishing details, click here | ||
| Back by popular demand—link to the Garden Page | Back to top | |