


| August 3 , 2007—Paint preparation picks up | |
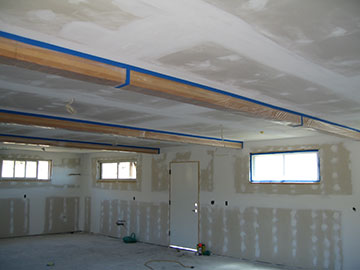 |
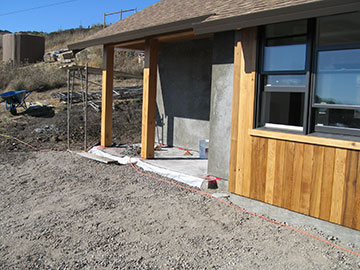
When I arrived, my assistant had made good progress on taping the lower floor of the barn in preparation for painting. Originally, we had not planned on finishing this area at all. But because there is a garage door in the ground floor, the County mandated that we drywall the ceiling to create a 1-hour fire ceiling and sprinkler the space. Since we were going to do that, we decided the extra expense for insulation and drywall on the walls was worth it, but we did not have painting of this space in our contract, so my assistant and I (mostly my assistant) are doing it ourselves. |
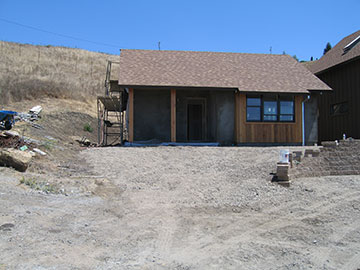 |
Kai had gotten the grading and gravel in for the driveway up to the cottage and the barn. Here, you can see that there is now just a small step up onto the porch of the cottage, and you can easily pull up a car in front. |
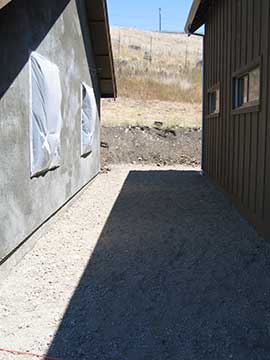 |
Between the cottage and the barn, it doesn’t look that different, but the level is much higher. On Monday, Lawrence will compact all the gravel. This is driveway base gravel and will compact down to an almost hard surface. |
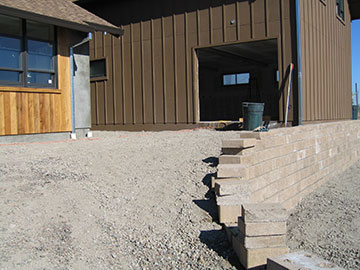 |
Here you get a good view of the driveway up to the barn door. Next week, there will be a concrete lip poured in front of the door so that you can drive right into it. |
 |
From the barn door, looking over to the cottage, you can see how high the gravel comes to the porch. The last layer will be DG (decomposed granite) which will be tan in color and give a finished look. I will do all the planting in front of the cottage in pots for now. Later, if I want beds, we can dig down through the gravel and add dirt to create planting areas, but for now I want to keep it simple. |
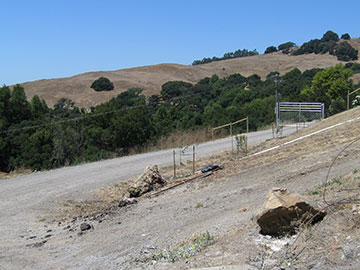 |
Kai placed these two rocks on either side of the “road” up to the shed. This is the last of the original driveway which was here when we bought the property. We replaced it with the driveway we have now because a flat driveway is a lot easier to navigate in the wet season. In the dry season, the old driveway is fine and you can drive up to the shed, but it has never been surfaced and cannot be driven on when it is wet. Eventually, it would be nice to get some base rock on it, but that is a low priority for now. Meanwhile, when it gets over-grown with weeds, we can use the rocks to locate it. Once this area is cleaned up, the rocks will be a nice landscape feature. |
 |
Looking at the south side of the barn, you can see the path being developed to curve toward the driveway from the back door of the barn. The little gray disc-like thing in the right foreground is the top of the now-buried propane tank. Kai will cut back the bit of bank above it when they finish the final terra-forming. |
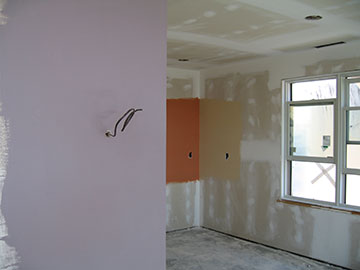 |
I started painting swatches of color in the cottage to see how they looked. Computer monitor color varies so much it is difficult to even give and idea of the real colors. The smoky lavender (or dirty blueberry, as Jim calls it) registers almost as gray, and the terra cotta is almost the color of a new flower pot. Most of the walls will be the yellowy buff color with the back kitchen wall and the wall surrounding the bay window in the living room terra cotta. As you enter the cottage, the wall directly facing the front door will be the smoky lavender and the ceilings will be white. |
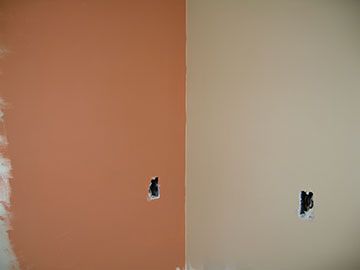 |
These colors are much richer than this in real life and the buff, which is quite a rich color on its own, fades to a neutral with the two accent colors. I was not so successful with the bedroom colors and will have to take time to add pigments to them to get them to look like what I want. |
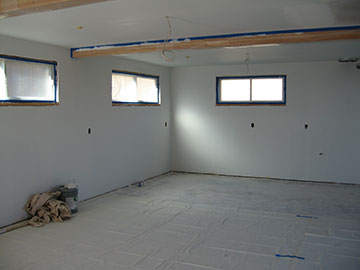 |
By the time I left, my assistant had more than 1/3 of the barn painted. The taping and caulking is always the most time-consuming process of painting. We did not do any caulking in this space because it will not be that finished and doesn’t need it. We will sand and stain the beams once we get the painting done. Upstairs, will be much more finished and the painters will do that, thank goodness, because it will require a lot of work from a scaffolding. |
| back to top | |