
| March 5, 2008—More wire and more wiring | ||
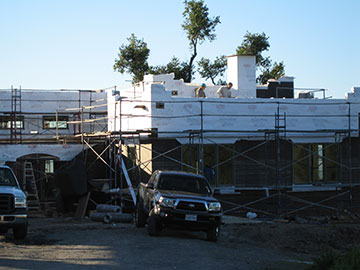 |
The plastering crew has been working hard on applying the stucco paper and lathe (which is what they call the wire they put on top of the stucco paper). Those tiny figures on the roof are Kai and his helper. |
|
 |
The front gate wall is almost covered to the top. | |
 |
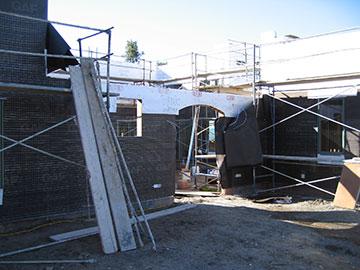
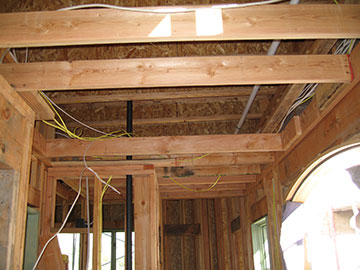
Inside the courtyard, the walkway roof support shows along the top of the stucco paper. The paper will go up to the top of the building, but they haven’t gotten to that area yet. Meanwhile, the walkway roof ledger is easy to spot. | |
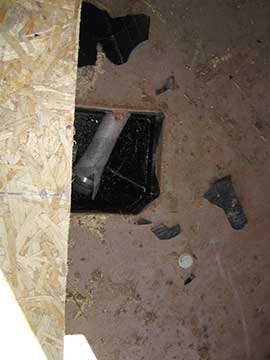 |
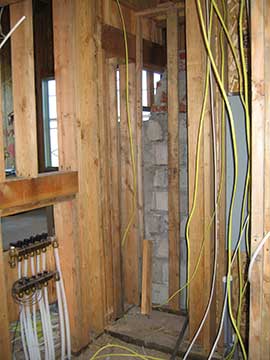
This indecipherable shot is of the drain for the master bathtub. We are looking down through the cut-out in the tub deck at the floor below. If you have been following the site for a while, you may remember the weird plastic tubs set in the slab to “suppress the drain” for the bathtubs. With the top of the tub removed, we can now see the plumbing. | |
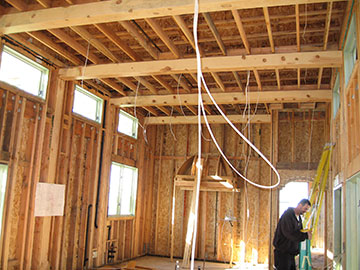 |
The wiring is going at a great clip. There are wires hanging from everywhere, like snakes in rainforest trees. | |
 |
The arched opening you see is the frame for the front door. Kai hung the door, then took it off its hinges and put it in the barn to keep it from getting dinged up. Above, you notice a lot of wires running along the rafters and a big opening in the ceiling in front of the door. We plan to put in a very handsome star light there, which will fit flush against the ceiling and we are installing a little coffer in the ceiling to house it. |
|
 |
We got our secret closet after all! Originally there was a space next to the fireplace which I wanted included in the hall closet so I could keep the leaves to the dining room table—which are quite large—and the table pads—which match in size—in that closet. Once construction started, we were told that the back wall of the closet was going to be a sheer-wall and needed to be solid, so we could not add that extra little space to the closet. We thought we would open the space up to the living room and use it as a log niche, but it seemed awkward. Then we thought we would open it up to the outside instead and use it to store logs there. It all seemed like too much trouble and expense, so I gave a great sigh and told Kai to just wall it in. Now, it seems that wall turns out not to be sheer-wall after all and Kai has added it back to my closet just the way I wanted in the first place! |
|
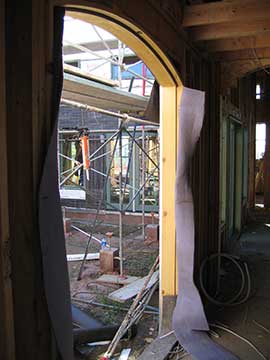 |
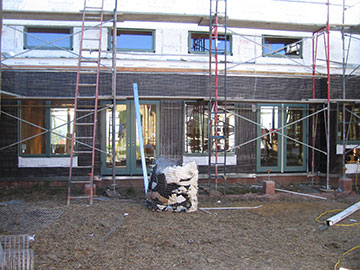
I included this photo because it is such a nice shot of the front door frame looking toward the family room. Once the house is complete, there will be the corrugated steel walkway roof over this door, supported by the beautiful carved posts which are currently stored in the barn. | |
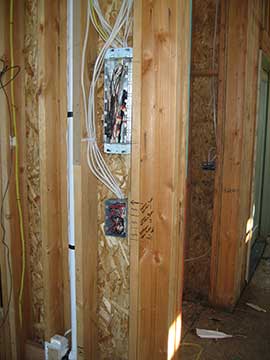 |
A friend of mine, who recently did a remodel of her house, mounted her switch plates vertically instead of horizontally. She had a few—just as we do—with 6 or 7 switches, and did not want those wide bands of switch plates going across her wall. I really liked the idea, and after an initial blink from the electricians, they fell in with the plan. Now, they are so happy with me, because there is no room in the walls for horizontal switch plates. In fact, in many places, they are having a hard time finding room for any switch plate at all. Here you see the switch bank for the storm shutters above and regular lights below. We don’t realize it, but there are conventions for everything we use and when we change the system, we need to create a new convention. For the vertical switch convention, we started the switches at the same height all over the house and go down the wall. Hopefully, the most-used switch is always at the top. |
|
 |
Here is the form for the coffer for the foyer light. We are using a circular coffer because the foyer is an odd shape and a square one doesn’t fit comfortably with the shape of the room. This is because of, what I facetiously call, the Great House Diet. At one stage in the design process, Todd realized the house was too big to meet our budget and there was a redesign to reduce the size. At that point, the guest bath—which had been a powder room—turned into a full bath and ate up a bit of the foyer. I wish I had fought harder for that extra 4 square feet foyer, because I think it would have been so much nicer. |
|
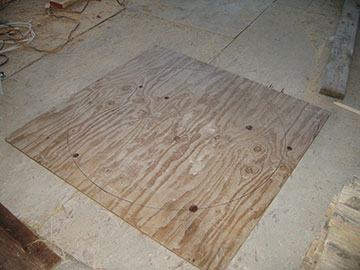 |
This board with the circle drawn on it is the top of the coffer. On the next page, there is a picture of it all put together and it will make a lot more sense. | |
 |
This hole is framed in for the vent for the vegetable cooler. There will be a piece of copper screening on the outside (with finer screen on the inside) to let air into a cabinet which we will use to store fruits and veggies and bread. | |
| For more on the house progress, click here | To see today’s Garden page, click here | |
| Back to top | ||