| May 2, 2008—The sheet rock is complete, on to mud! | ||
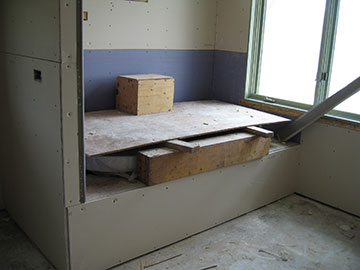 |
On Friday morning, the sheet rock was mostly complete. Tom Riggs and his crew were putting the corner trim on and cleaning up in preparation for taping and mud. Here is the bathtub deck with rock. The purple and green sheet rock are called green board and are used under tile in an area which will get wet, such as a tub back splash. |
|
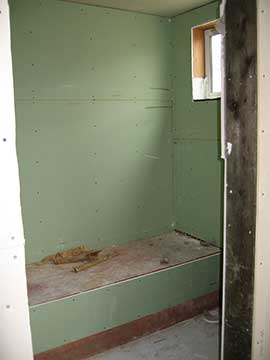 |
Here is our shower with green board. I kind of like the color. We had thought at one time that we might use green tile, so here we get a rough idea of what that might look like. We nixed the green tile because it is so unflattering. I figure I need all the help I can get when I see myself in the bathroom mirror and I don’t need to look green too. |
|
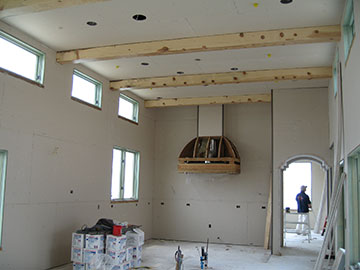 |
The kitchen/family room is completely sheathed in drywall, including the ceiling. The black stripes you see on the range hood flue is corner trim. We are using rounded corner trim to soften the corners and make the walls seem more like they are plastered. |
|
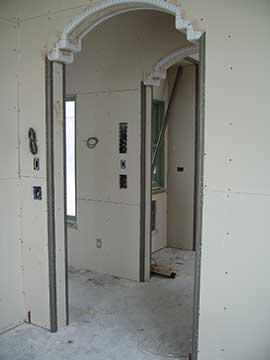 |
Here is a closer view of the dining room arch with the trim installed. It actually looks very cool in real life and kind of pops the arches. | |
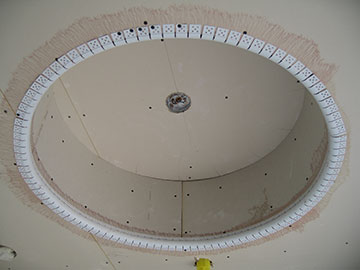 |
Here is the foyer coffer all trimmed out. | |
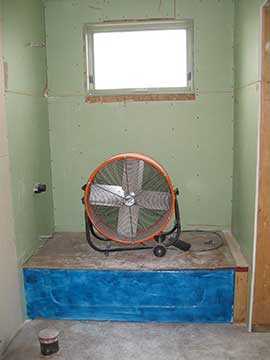 |
The guest bath with green walls and blue tub. Notice the little ledge at the right of the tub. The wall at either end of the tub was supposed to jog in a couple of inches to fit the tub perfectly, but Kai missed this detail in the framing and so did the framers. We have used the extra space to build this little ledge. I am much happier with this arrangement than if it had be done to plan, because one of my pet peeves is not having any place to put shampoo bottles when taking a shower. Plus, it will make the shower seem a little more roomy. |
|
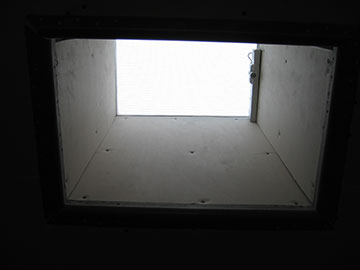 |
The skylights have been boxed in. I am a little concerned about the tightness of the boxes and have pointed this out to Kai. He and Tom Riggs will take a look at this and talk to me about it next Wednesday. | |
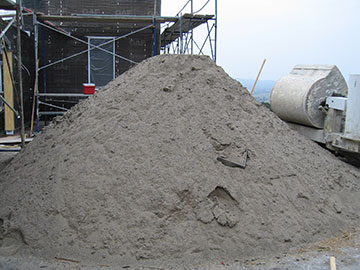 |
Here is another view of the plasterers’ sand pile. They have everything ready to go first thing next week. The first coat is called the scratch coat. Once that is on, there is a little break while it cures, then the brown coat goes on. Once that cures, the final coat—the color coat—is applied. | |
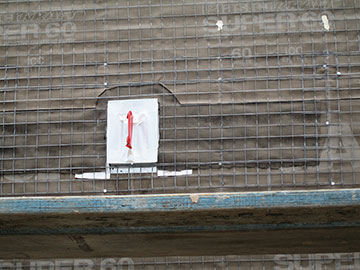 |
Here is one of the attachments for the walkway beams to the wall, taped to protect it from plaster splashes. There was some discussion as to whether these beams really needed to be attached—because it would be easier if they were just real, real close. However, it was determined that they did need to be attached for sheer strength as well as esthetics and I think it will look better this way. |
|
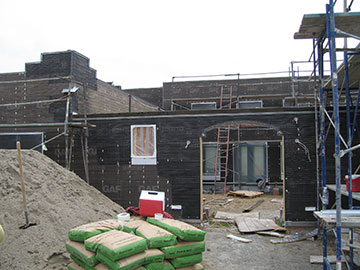 |
Here is a final look at the front gate arch, the sand pile and the cement for the scratch coat. | |
| For a look at the completed sheet rock, click here | ||
| Back to top | ||
