
| March 19, 2008—Many parts arrive at the site | ||
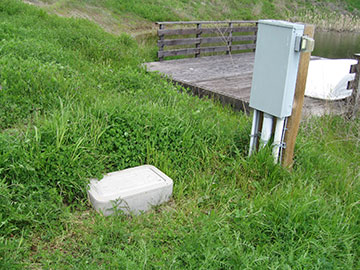 |
The Christy Box from Hell There is a long story behind this christy box down by the pond. (A christy box is one of those concrete boxes you see in sidewalks and is called that after the company that used to make them all—a brand name gone generic, like kleenex.) When the electricians were doing the wiring through the previously installed conduit all over the property, they thought there was a buried broken pipe in this location because the wire got stuck here. When they dug down, low and behold, there was a christy box. Just this week, when we tried to use the plug you see on the power box, it didn’t work. The electricians had to raise the level of the christy box once again, so it is above the water line when it rains. |
|
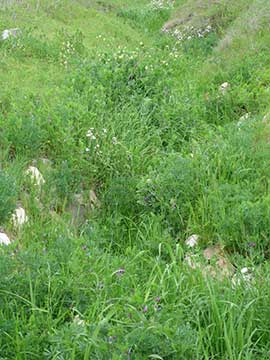 |
Here is the gully by the master bathroom which was rip-rapped last summer by my assistant (check the Garden Archives for February 2008 for a view of what it looked like before the weeds got so high.) The weeds are actually a good thing—anything which slows the water down as it comes down the hill is a good thing—because water causes less erosion that way. Also, plants trap the silt carried in the water before it gets to the pond. Gradually, the gully should re-fill somewhat from the rip-rap and foliage. Next year, we will probably plant willow whips in the gully above our property. That property owner is technically liable for the silt coming down the hill, but I don’t want to be a contentious neighbor so I will probably only ask for a contribution if it turns out to be expensive. At any rate, we have enough on our plate this year and it can wait. |
|
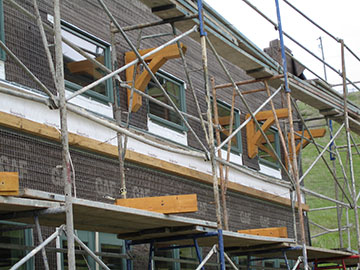 |
The brackets were going up at quite a pace by afternoon. These over the clerestory windows will just have the latilla screens mounted on top. There are no blinds on these windows and I am wondering whether we should think about installing them. | |
 |
The last two clerestories in this bank are in our bedroom. | |
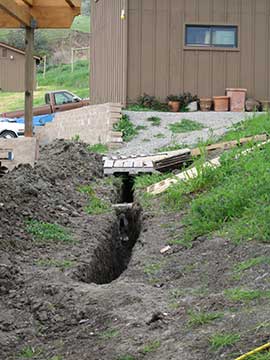 |
This ditch is being dug to bring softened water over from the barn. Kai’s amazing plumbing hook-up maze is under that pallet you see covering the ditch at the end. We will have softened and filtered water for the house and unfiltered for hose-bibs. | |
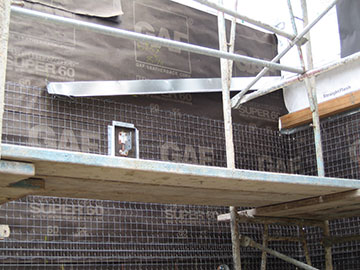 |
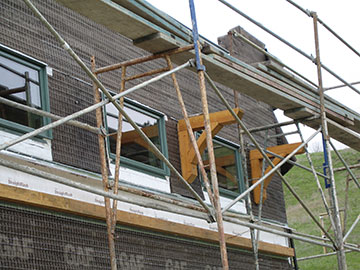
This shot seems incomprehensible, but is actually kind of interesting. The silver thing at an angle on the wall is flashing for the corrugated steel roof over the walkway and the square thing below it is the bracket for the beam to hold up the roof. There was a certain amount of discussion over whether the courtyard walkway beams needed to be attached to the wall or whether they could just come very close. |
|
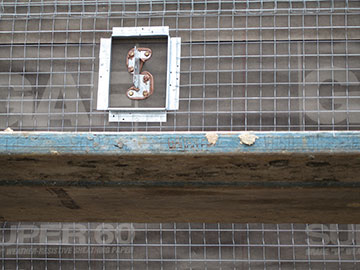 |
Kai did not want to insert the beams into the wall, because he was afraid the plaster would crack as the beam moved. Wood in structures constantly expands and contracts with the weather—plus, since the beams are green wood, they will shrink and twist as they cure. However, Todd thought that the beams did need to be attached to the structure for sheer strength (strength against side to side movement in an earthquake) as well as for esthetics. Kai solved the problem by getting some stainless steel fabricators to make these mounting brackets for the beams. The plaster will come to the outside edge and not be affected by the beam movement. |
|
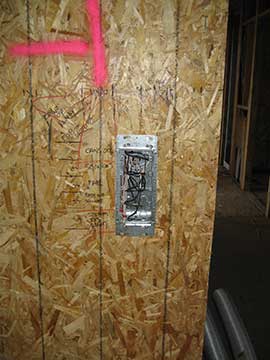 |
The totally excellent electricians managed to get the switches for the master bathroom right where I wanted them. Behind that piece of OSB on the wall, the studs are packed in solid for about 18". Because of that, the electricians had wanted to move the switches out of the photo to the left. We would have had to come into the bathroom and fumble around on the wall to turn on the lights. I strongly objected to this and through my weight around just a bit, which resulted in getting the switch put where it needed to be. They had to route out a hole in a 10" x 10" stud and drill through a bunch of others to get the wires there, but they managed to do it. I just imagined too many nights stumbling to the bathroom in the dark and dealing with that light switch. Yikes! I am so glad they were able to get it done the way I wanted. |
|
 |
Here is a photo of a possible color for the back hall. It isn’t as awful as it looks here, but it is definitely not good. It is the next color lighter than the color I had picked out for the main rooms, but it is WAY too pink and icky. I will have to test some more colors. | |
 |
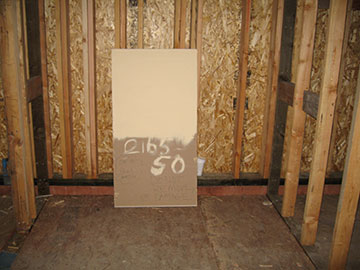
Here is a new plaster sample for the house. I like the color a lot, but even in this low resolution photo, you can see that there are some pinky areas. I am not sure if this is just because it is a small sample and the plaster was worked too much or what. I will need to discuss this with the plaster contractor. He has spent a lot of time in New Mexico and is very clear on the effect we are trying to get, so I am sure he will understand what I am talking about and find a solution. | |
| Back to top | ||