
| March 7, 2008—Plumbing as art | ||
 |
Here is our coffered ceiling installed above the front door. Our ceiling star light fixture will fit right inside the circle. | |
 |
The brackets for the big windows sit in the dining room awaiting installation. On top of the brackets will be a long box, disguised as a beam, which will house the window shutters and above that will be the latilla sunscreen. | |
 |
Here is a side view of the brackets. | |
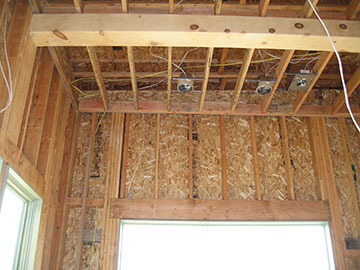 |
Looking up in the dining room, you can see the can bases installed in the ceiling. In the middle of the room will hang our 10-arm tin chandelier (finish-shiny), which I can’t wait to see. | |
 |
We got some samples of granite for the counter tops and brought them into the kitchen to view in the real light. Unfortunately, the scaffolding, and the oncoming twilight did not make for a very real-light experience but I guess it was better than nothing. I brought my large color board over from the barn to see what it would look like in the room. It looked a little dark—although here it looks fine because of the camera flash. I think I had better try it out again next week a few times to see how it looks during different times of the day. |
|
 |
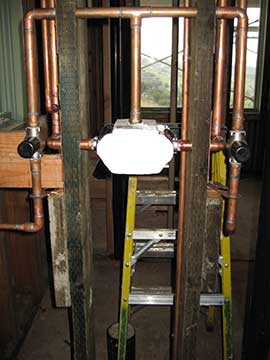
We are plumbing for a possible gray-water system in the future. Because we have a slab, once the concrete was poured, the plumbing was set in stone, so to speak, there could be no alterations later. We decided to anticipate everything we could, including a drought situation where gray-water systems would be approved by the county. Here is the plumbing set-up for that. The plumber working on this asked me to photograph it for later reference, since he intends to rebury it tomorrow. |
|
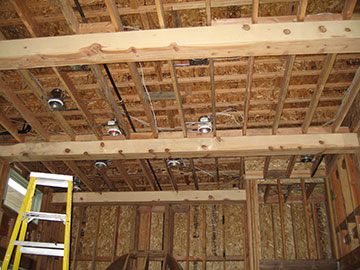 |
Here are some of the cans in the kitchen ceiling. I really wanted some pendant lights, but since we are having ceiling fans and the pendants would have to hang down a long way from the ceiling, we thought they might have a tendency to swing too much when the fans are on. In consolation, I realized that the lights will not be centered in the room; so if they were hanging down, they would look odd not being centered in front of the range hood. |
|
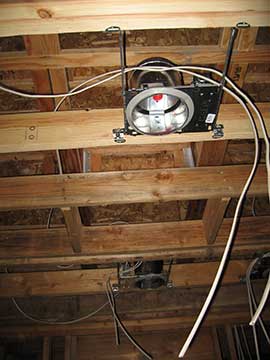 |
Here is a close-up of a can base. | |
 |
This is the master shower rough plumbing. The white thing will be the temperature control valve. You will set the temperature and then turn on a knob—which will go where those black things are—that will turn the water on for either the shower head or the hand-held shower head. | |
 |
The white goose-neck-y thing will be the control for the steam and the pipe down low is where the steam will come out. | |
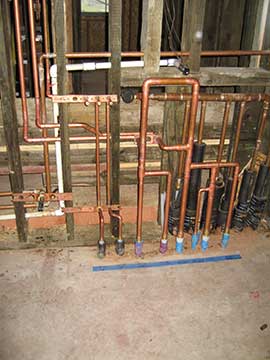 |
This is water headquarters in the mechanical closet. All the hot water for the house goes through here. Once the boiler for the radiant heat is installed, the big, square pipe in front will get cut into and hooked up to the boiler, which also supplies hot water for the house. We also have a hot water return system mixed into these pipes. The hot water will constantly circulate through the house, so when you turn on a hot valve anywhere, the water will be hot immediately. When you get your water from a well, you cannot afford to be wasting water, and running the faucet waiting for the water to heat up wastes so much. Anyway, I put this picture in because I think this plumbing is amazing. It is so complex, yet organized. It is quite beautiful—some of the most elegant plumbing I have ever seen. There is no plan for this, the plumber just makes it up, so when you see a job like this, you know you are in the presence of an artist. |
|
| To see today’s Garden page, click here | ||
| Back to top | ||