
| May 28, 2008—Cabinetry, paint and tar . . . | ||
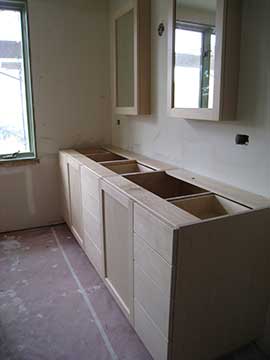 |
I arrived at the site on Wednesday to find that the bathroom vanities had been installed the previous day, along with the medicine cabinets. The cabinetry looks great, but the sconces are not lined up with the medicine cabinets properly we are not sure quite why. The sconce bases will have to be moved. |
|
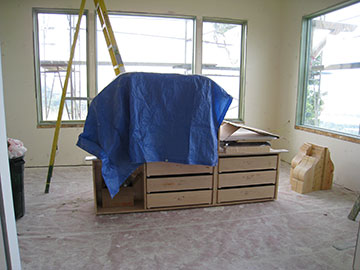 |
This stack of stuff is the dining room buffet which will go under the large window on the right. There will be cabinets on either side of the window with the buffet in between. The buffet will have a green granite top. | |
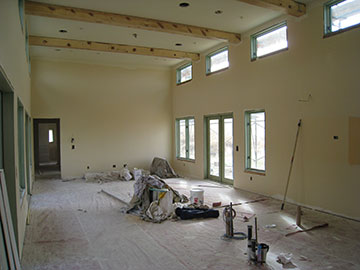 |
The back hall and rooms had been painted and the kitchen/family room too. I was a little confused because I wasn’t sure that I had given the go-ahead for the paint color. Then one of the painters explained that this was just the primer. They had tinted it close to the color that I THOUGHT I wanted to get better coverage when they painted. Plus, it gave me a chance to see what the paint color would look like. Wasn’t that smart? | |
 |
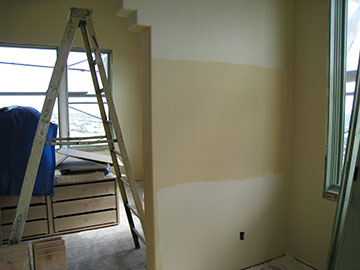
Here is the wall with the original 3 sample colors. The one in the middle is the color I mixed up from my original choices and was positive that that was the final color. Then, last week, after seeing a big sample on the wall, I had rejected as being too dark. The one near the pole was what we had decided to go with.
|
|
 |
We had originally decided to go with more intense color in this house—hence the dramatic green stained doors and the turquoise trim we intend to use. Now that I saw the whole room painted, the color seemed really light and soft. The pale yellow did not look all that great with the stain. And when I put the trim sample between the doorframe and the painted wall, the turquoise trim really looked bad with the yellow. |
|
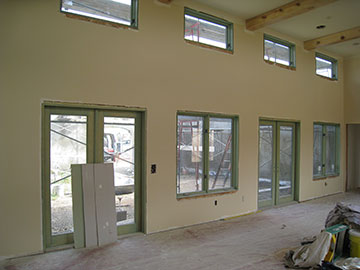 |
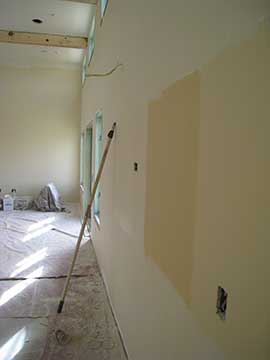
This picture shows what I mean a little better. The exterior doors are already a little more yellow than the interior ones because of the type of pine they were made from. In this photo, you can see how they suddenly start to look kind of olive next to the pale yellow paint. Ugh! | |
 |
Here is the darker, orangy color which I had mixed up from my original selections. After seeing the house primed, I realized that when I saw the samples against all the white drywall, the orange had looked very dark in contract. After seeing the rooms primed, I now realize that the large rooms can easily take the darker paint without it seeming dark. Plus, the painted trim and stained wood look great with this color and not so great with the yellow. The painting contractor is calling this color “Susan the Peach,” although I think it is orange. In real life, it does look darker than this photo. I am not sure whether to be flattered or insulted by the paint name, and he’s not saying whether he meant to flatter or dis. When I asked, he just laughed. |
|
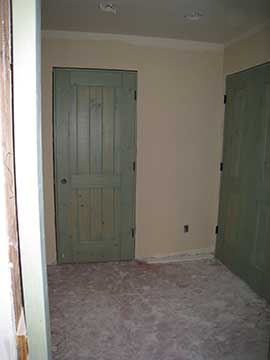 |
Here is my dressing room with doors and primed walls. We will keep the paint essentially the same color as the primer for the back rooms and hall, but I am going to adjust the trim color to a greener tone back here. We want the lighter color for the smaller spaces with lower ceilings, where the orange would feel too dark. | |
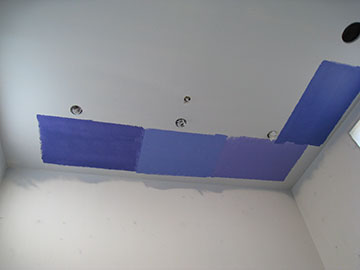 |
We picked out a color for the master bedroom ceiling. It is the second blue from the left. They all look better on my computer monitor than in real life, but the color from monitor to monitor is so different, I have no idea what it will look like on yours. (The black hole in the ceiling is for a stereo speaker.) |
|
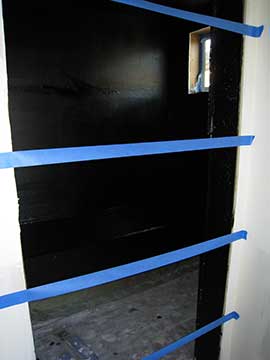 |
Just what I always wanted, a shiney, black shower stall! Yikes! Here is our shower with water-proofing all over it. I think it gets 3 coats. The material is remarkably stinky—way worse than tar, which I kind of like the smell of—and also gummy. |
|
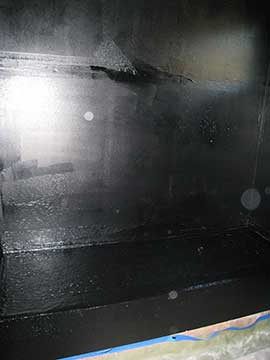 |
I tried to take a better picture and get the flash to go off, but this is all I could muster. At least in this shot, you can see the bench. | |
| For progress on the arbor, click here | Back to top | |