
| June 20, 2008—Well problem resolved (somewhat) | ||
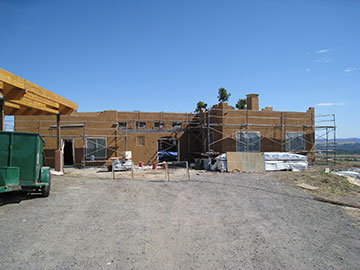 |
When I got to the site today, the plasterers had finished the color coat over the whole front of the house. It looks wonderful, just like the brown buildings we loved in Santa Fe. In front of the house, there are a couple of sawhorses and off to the right is a board in the road. These are to protect the wires re-hooking the upper well up to the water system. The electrician had stayed late last night to reattach the well temporarily and when I checked the level in the water tank, it was almost full. |
|
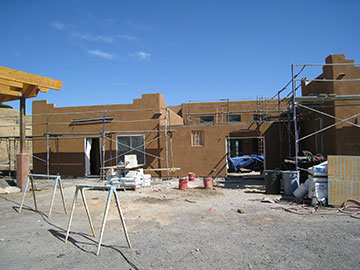 |
Here you get a better view of both the front of the house and the wire from the well. The plasterers have removed the protective plastic from the clerestory windows in the family room, and you can kind of see the color of the frames in this photo—which is a medium sage green. Also, our little grille looks pretty cool in the wall as well. | |
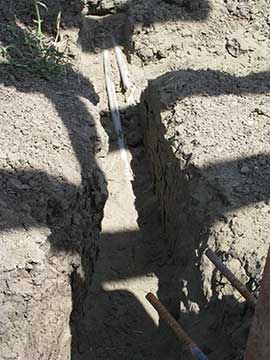 |
The electrician fished the broken conduit and figured out approximately where it was broken. Then Kai had it dug up so we can reconnect the well wire through the conduit. It should be reattached permanently soon and I will breath a huge sigh of relief. | |
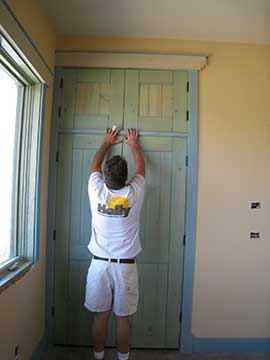 |
Kai mocked up the head trim for us to approve. (Head trim is the the trim at the top of doors or windows.) Here is the guest room closet with cupboard above and head trim above that. The gray wood is primed but not painted yet. It will be painted the same turquoise as the rest of the painted trim when it all gets caulked, sanded, and a second coat of paint. I had worked hard on these details with the drafting architect at Todd’s office and we had put a lot of thought into how we wanted it to look. In real life, it just looks great. |
|
 |
Kai had cut off the end of his finger using a new tool earlier in the week. I can’t believe how blasé he is about the whole thing, but I am sure it really hurts. Here he is modeling his new bandage—or flipping the bird—I’m not sure. | |
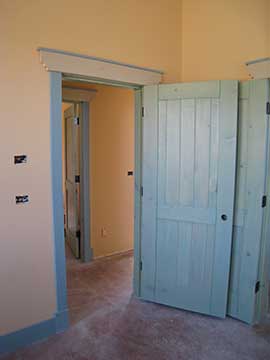 |
We carried the step detail that we had used on the ears and the arches into the head trim. Notice the corners of the primed boards have a reverse stair-step cut out of the lower corners. This will be more apparent when painted the proper color. | |
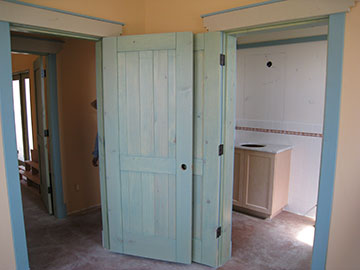 |
Looking from the guest bedroom into the library in one direction and the guest bath in the other, you get an idea of how much the trim will influence the look of the spaces. The guest bath picture rail will be painted white, but all the trim pieces got primed in the main trim color. |
|
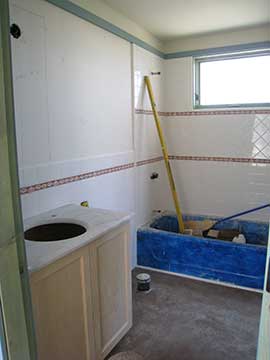 |
The vanity counter top arrived from the marble finishers. This is an old piece of Carerra marble which used to be in a small powder room in my mother’s house. When she bought the house, she did a major remodel and gave us the vanity top with the sink done in faux marbre to match the counter. We planned to use it in the house we live in now, but did not ever get around to it. Now we are installing it here and thankfully it looks good with the white tile. We are also going to use the faux marbre sink that goes with it. It looked pretty funky and I had planned to get a white one, but it proved so difficult to get a perfectly round sink that would fit the hole, I decided to try to clean the one we had. Lo and behold, it actually cleaned up pretty good, so we will use it after all. |
|
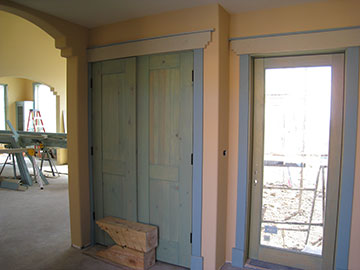 |
The foyer also has its head trim up. | |
 |
The guest bedroom hallway has a lot of trim in it because of the number of doors: guest bath, guest bedroom, linen closet, library, and foyer window. The dinky little linen closet will come in handy for towels and sheets for guests. We originally had more space in this wing, but due to cost considerations, the house when on the Great Diet and lost a couple hundred square feet. Sadly, the large linen closet was part of the sacrifice. |
|
| Click here for more about trims | ||
| Back by popular demand—link to the Garden Page | Back to top | |